Have you ever wondered why your favorite guitar heroes get that incredible tone while your own setup sounds thin and weak? The secret often lies in the very first step—the proper connection between your instrument and amplifier. How to connect guitar to amp?
🎸 Pro Tip Before You Start
Getting this fundamental step right transforms your playing experience. A correct setup unlocks the full potential of your equipment. It ensures rich, vibrant sound that responds to your touch.
Many musicians overlook these basic principles. They assume any cable plugged in will work. This approach leads to disappointing results and technical frustrations.
Our comprehensive guide walks you through the complete process. You’ll learn professional techniques for achieving optimal audio quality. Whether you’re unboxing your first electric guitar or refining an existing setup, we cover everything you need.
Proper equipment connection prevents damage and enhances performance. You’ll gain confidence to troubleshoot common issues. Discover how to explore the full sonic range of your gear.
This resource addresses beginner questions while offering insights for experienced players. From amplifier features to effects integration, we provide the complete foundation for stellar sound.
Getting Started: Understanding Your Amp and Equipment
Before you even think about cables and connections, understanding your amplifier’s features is absolutely essential. Knowing what each control does transforms you from a casual player to someone who can craft professional sounds.
Overview of Guitar Amps and Their Features
Modern guitar amplifiers come in several configurations. Combo units house both the amplifier circuitry and speaker in one cabinet. Separate amplifier heads require external speaker cabinets for sound projection.
Tube amplifiers offer warm, organic tone that many professionals prefer. They often feature a standby switch to protect the valves. This extends the life of your equipment.
Basic Components of Your Setup
The power control is your starting point. Located on the front or back panel, it activates the entire system. Volume determines your output level while gain shapes your input intensity.
Most amps feature multiple channel options. Clean channel provides pristine sound. Gain channel delivers distortion and crunch tones. EQ controls let you sculpt bass, mid, and treble frequencies.
Built-in effects like reverb add spatial depth to your signal. Understanding this signal path helps troubleshoot issues. It also maximizes your creative potential.
Gathering Essential Gear for the Setup
Before making any connections, having the right tools makes all the difference. Your equipment choices directly impact sound quality and reliability. Quality gear ensures optimal performance from your entire setup.

Combo Amps, Amplifier Heads, and Speaker Choices
Combo amplifiers provide an all-in-one solution perfect for beginners. They combine the amplifier circuitry and speaker in a single cabinet. This design offers simplicity and portability for practice sessions.
Separate amplifier heads with external speaker cabinets deliver more flexibility. This setup allows you to mix and match components. You can customize your tone and upgrade individual pieces over time.
Stage performers often prefer head-and-cabinet configurations. They provide greater power and tonal options. Consider your playing environment when choosing between combo and separate systems.

Marshall MG15GFX
Compact, powerful, and full of Marshall tone — perfect for practice or small gigs with built-in effects and that iconic rock crunch.
Buy on Amazon
Fender Mustang LT25
The Fender Mustang LT25 delivers classic Fender tone with modern digital versatility — ideal for beginners and home players.
Buy on AmazonThe Importance of Quality Instrument Cables
Your instrument cable is the critical link in your signal chain. It features 6.3mm mono jack plugs at each end. This cable transfers the unbalanced audio signal from your guitar’s output to the amp’s input.
Invest in cables with high-grade connectors from brands like Switchcraft or Neutrik. Quality cables provide superior signal transfer and reduced noise interference. They also offer greater durability than cheap alternatives.
For separate head and cabinet setups, use appropriate speaker cables. Never substitute a standard guitar cable as this creates safety hazards. Proper power cables with grounding prevent electrical issues and hum.
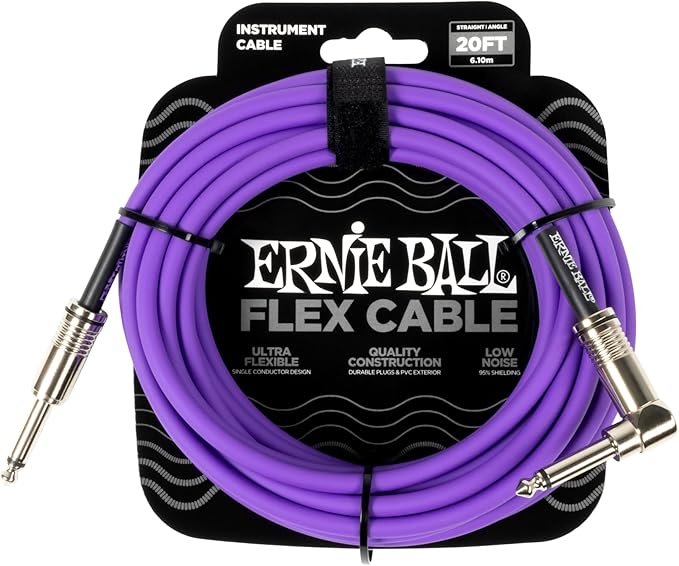
🎸 Ernie Ball Flex Instrument Cable Straight/Angle 20ft
Built for tone, flexibility, and durability — the Ernie Ball Flex Cable delivers clear signal transmission with minimal noise. Its dual-conductor design ensures reliable performance on stage and in the studio, while the straight/angle connectors make setup easy in tight spaces. Perfect for guitarists who demand pro-level quality in every connection.
🔗 Buy on AmazonHow to Connect Guitar to Amp: Step-by-Step Instructions
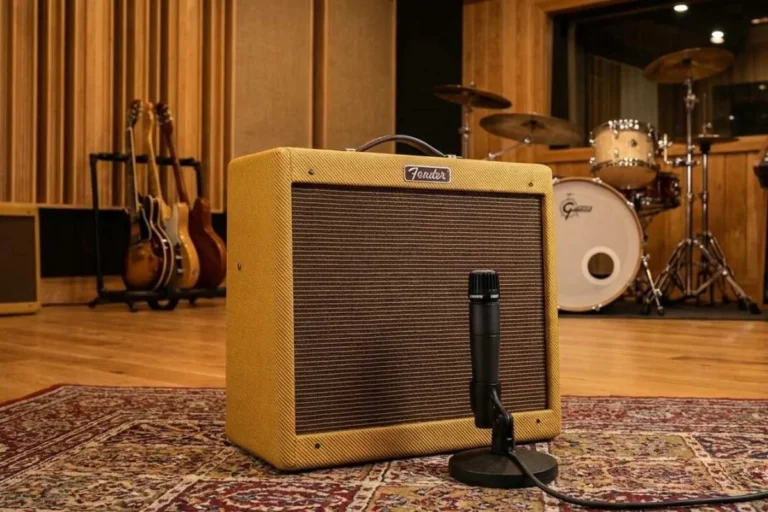
The moment of truth arrives when you’re ready to bridge your electric guitar with the amplifier for the first time. Following professional guitarist Aaron Asghari’s method ensures smooth operation and protects your equipment.
Plugging the Guitar Cable into the Amp’s Input Jack
Begin with your amplifier’s power switch in the off position. Connect the power cord to a wall outlet. Verify power flow by checking for indicator lights on the front panel.
Take your instrument cable and insert one plug end into your electric guitar’s output jack. This metallic socket is typically found on the guitar’s front or edge.
Before completing the connection, turn both volume and gain controls completely down. This prevents sudden loud sounds when you plug in.
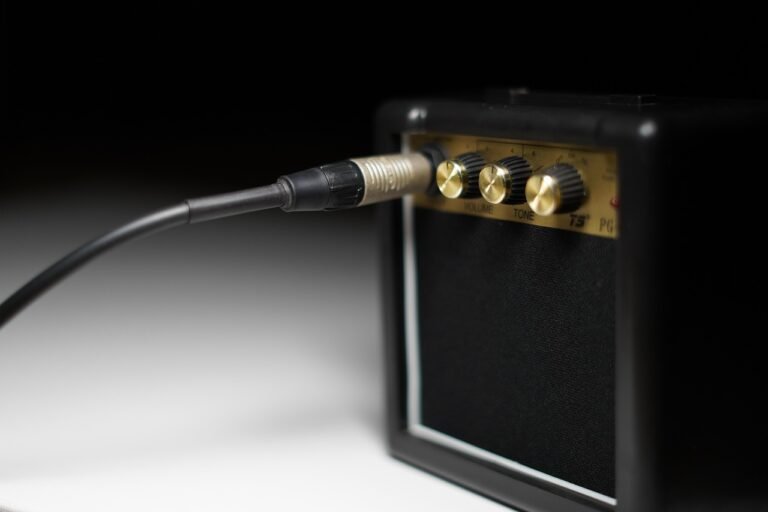
Now take the other end of your guitar cable. Firmly insert it into the amplifier’s input jack. This connection point is usually on the front or top panel.
Establishing a Solid Connection with Your Electric Guitar
With everything properly linked, power on your amplifier. Gradually increase the volume and gain settings. Test the sound by strumming an open string.
A secure connection requires both cable ends to be fully seated in their jacks. Loose connections cause signal loss or crackling noises during play.
Always disconnect from the amplifier before unplugging from your instrument. This practice avoids damaging crackles that can harm speakers.
Following this sequence guarantees clean signal transfer and equipment safety. Your setup will deliver consistent, high-quality sound every time.
Safety and Power Considerations
Understanding electrical safety protocols transforms you from a casual player into a responsible musician who protects their gear. Proper handling of your equipment’s power systems prevents damage and ensures reliable performance every time you play.

Always make sure your amplifier uses the correct three-prong power cable. This grounded connection protects against electrical shocks. It also reduces unwanted hum in your signal chain.
Ensuring Proper Electrical Connections
Before connecting your electric guitar, verify the amp‘s power switch is off. This prevents loud crackling noises when plugging in. Such sounds can harm your speaker over time.
If your power cable detaches, connect it to the amplifier first. Then plug into the wall outlet. This sequence ensures stable power delivery.
Never use a standard guitar cable as a speaker cable. Instrument cables cannot handle speaker-level signals. This mistake creates serious fire hazards.
Preventing Feedback and Protecting Your Equipment
Set your volume and gain controls to minimum before powering on. This prevents feedback loops and protects your speaker from sudden loud sound surges.
When shutting down, reverse the startup sequence. Lower the volume first, then turn off the amp. Finally, unplug from the wall. This practice extends equipment life.
Regularly inspect all cables and connections for wear. Damaged cables introduce noise into your signal. They also pose safety risks to both your gear and yourself.
⚡ Sound Check Tip
Optimizing Tone and Effects on Your Amp
With your equipment safely linked, the next exciting step involves shaping your unique sonic signature. This process transforms basic sound into professional-quality music.
Begin by setting all controls to neutral positions. This creates a clean slate for experimentation.
Marshall MG15GFX
Compact, powerful, and full of Marshall tone — perfect for practice or small gigs with built-in effects and that iconic rock crunch.
Buy on Amazon
Fender Mustang LT25
The Fender Mustang LT25 delivers classic Fender tone with modern digital versatility — ideal for beginners and home players.
Buy on AmazonAdjusting Volume, Gain, and EQ for the Perfect Sound
Start with your amplifier’s clean channel if available. Gradually increase the volume to a comfortable level. This reveals your guitar’s natural tone without distortion.
For gain channels, begin with volume at minimum. Raise the gain control halfway, then adjust volume upward. Experiment with different gain levels to find your preferred drive.
EQ controls offer powerful tone shaping. Set bass, mid, and treble knobs to the 12 o’clock position initially. If your sound lacks fullness, increase the bass control. For muddy tones, reduce bass and mids while boosting treble.
Experimenting with Built-In Effects and Reverb
Built-in effects add depth and character to your sound. Reverb creates spatial ambience, making your guitar sound like it’s in a larger room.
Start with effects at minimum settings. Gradually increase reverb to discover how it enhances your tone. Each amplifier offers unique capabilities, so take time to explore all controls.
Remember that every guitar amp responds differently. Trust your ears and make incremental adjustments. This hands-on approach helps you develop your signature sound.
Integrating Additional Effects and Pedals
Expanding your sonic toolkit with effects pedals unlocks creative dimensions beyond your amplifier’s built-in capabilities. These compact devices transform your basic tone into professional-grade soundscapes.

Effects pedals range from subtle enhancements to dramatic transformations. They allow you to craft unique sounds that define your musical identity.
Connecting Guitar Pedals to Enhance Your Sound
Setting up a single pedal requires two instrument cables. Connect your guitar to the pedal’s input jack using one cable.
The second cable runs from the pedal’s output to your amplifier’s input. This creates a complete signal path for your enhanced tone.
Most pedals offer flexible power options. You can use replaceable 9-volt batteries or dedicated adapters.
Always verify your power source before playing. Fresh batteries or proper adapter connections ensure consistent performance.
Finding the Best Sequence for Chaining Multiple Pedals
When using multiple effects units, proper sequencing maximizes their potential. Short patch cables keep your pedalboard organized.
Follow this professional signal chain order:
- Tuner pedals first for accurate pitch reading
- Gain-based effects like overdrive and distortion next
- Modulation pedals such as chorus and tremolo
- Ambiance effects like reverb and delay last
This standard sequence ensures each pedal processes your signal effectively. However, experimenting with different orders can yield exciting sonic discoveries.
Professional Insights and Tips from Guitarists
Professional guitarists have spent years refining their approach to equipment, providing insights that can save beginners countless hours of frustration. Their collective experience offers a roadmap to achieving exceptional sound quality.
Expert instructor Aaron Asghari’s straightforward method represents the professional standard musicians rely on for consistent performance. This foundation ensures reliable operation in any setting.
Marshall MG15GFX
Compact, powerful, and full of Marshall tone — perfect for practice or small gigs with built-in effects and that iconic rock crunch.
Buy on Amazon
Fender Mustang LT25
The Fender Mustang LT25 delivers classic Fender tone with modern digital versatility — ideal for beginners and home players.
Buy on AmazonExpert Advice on Amp Settings and Troubleshooting
When troubleshooting issues, professionals always check simple solutions first. Verify all cable connections are secure and your instrument’s volume is up. Systematic checking prevents unnecessary complications.
For unwanted noise or hum, check your amplifier’s grounding and cable placement. Ensure cables don’t run parallel to power cords. Tube amp users should verify tubes are seated correctly.
Impedance matching is critical for amplifier heads paired with speaker cabinets. Your amp’s output must match your speaker’s rating to prevent equipment damage.
Real-World Recommendations from Professional Players
Experienced players recommend investing in quality gear from the start. Brands like Switchcraft and Neutrik for connectors provide the reliability professionals demand. Quality instrument cables ensure clean signal transfer.
Keep your signal path simple when beginning. Master your instrument and amplifier’s native tone before adding effects. This approach helps you understand each piece of gear’s contribution.
Professional insights emphasize that your equipment requires practice and exploration. Spending time learning how settings affect your tone makes you a more versatile musician.
🎶 Pro Insight: From Setup to Stage
Bringing It All Together: Guitar and Amp in Perfect Harmony
Your musical expression finds its power through the simple yet vital connection you’ve now mastered. This comprehensive guide has equipped you with the complete foundation.
You understand your amplifier, use quality cables, and follow safe procedures. These steps ensure optimal sound quality every time you play your electric guitar.
Knowing how to connect guitar to amp is just the start. Your real journey involves exploring your guitar amplifier’s vast tonal possibilities.
This knowledge serves you from practice rooms to live stages. Your guitar and amp are now a unified instrument ready for your creativity.